Showing posts with label dessert. Show all posts

Sunday, September 1, 2013

Lime Ice Cream Pie

This is a perfect summer dessert- cold and refreshing with just the right amount of sweetness.  It's also incredibly easy to make- no ice cream maker or special kitchen utensils required, other than a food processor for the crust.  The tart and creamy filling pairs wonderfully with the homemade graham-cracker crust which is buttery and sweet.  It's also nice that this keeps in the freezer for several days (or even a couple weeks) so you don't have to eat it all in one sitting.  Or you could make two and save one for later.  Either way, this is sure to be a success for you and your guests!  Thank you to Serious Eats for the recipe, which was unaltered.  Note that there is a good amount of wait time in this recipe so get an early start on it if you plan to consume it in the same day. 
This also gave me a chance to use my DIY cake stand!

Ingredients:

Crust:
  • 10 plain graham crackers
  • 1/2 teaspoon kosher salt
  • 3 tablespoons white sugar
  • 5 tablespoons butter, melted and slightly cooled
Filling:
  • 1/2 cup lime juice (3-4 limes)
  • 1 tablespoon lime zest, plus more for garnish, from about 1-2 limes
  •  3/4 cup sweetened condensed milk
  • 1 cup heavy cream
  • 1/4 teaspoon salt

Directions:

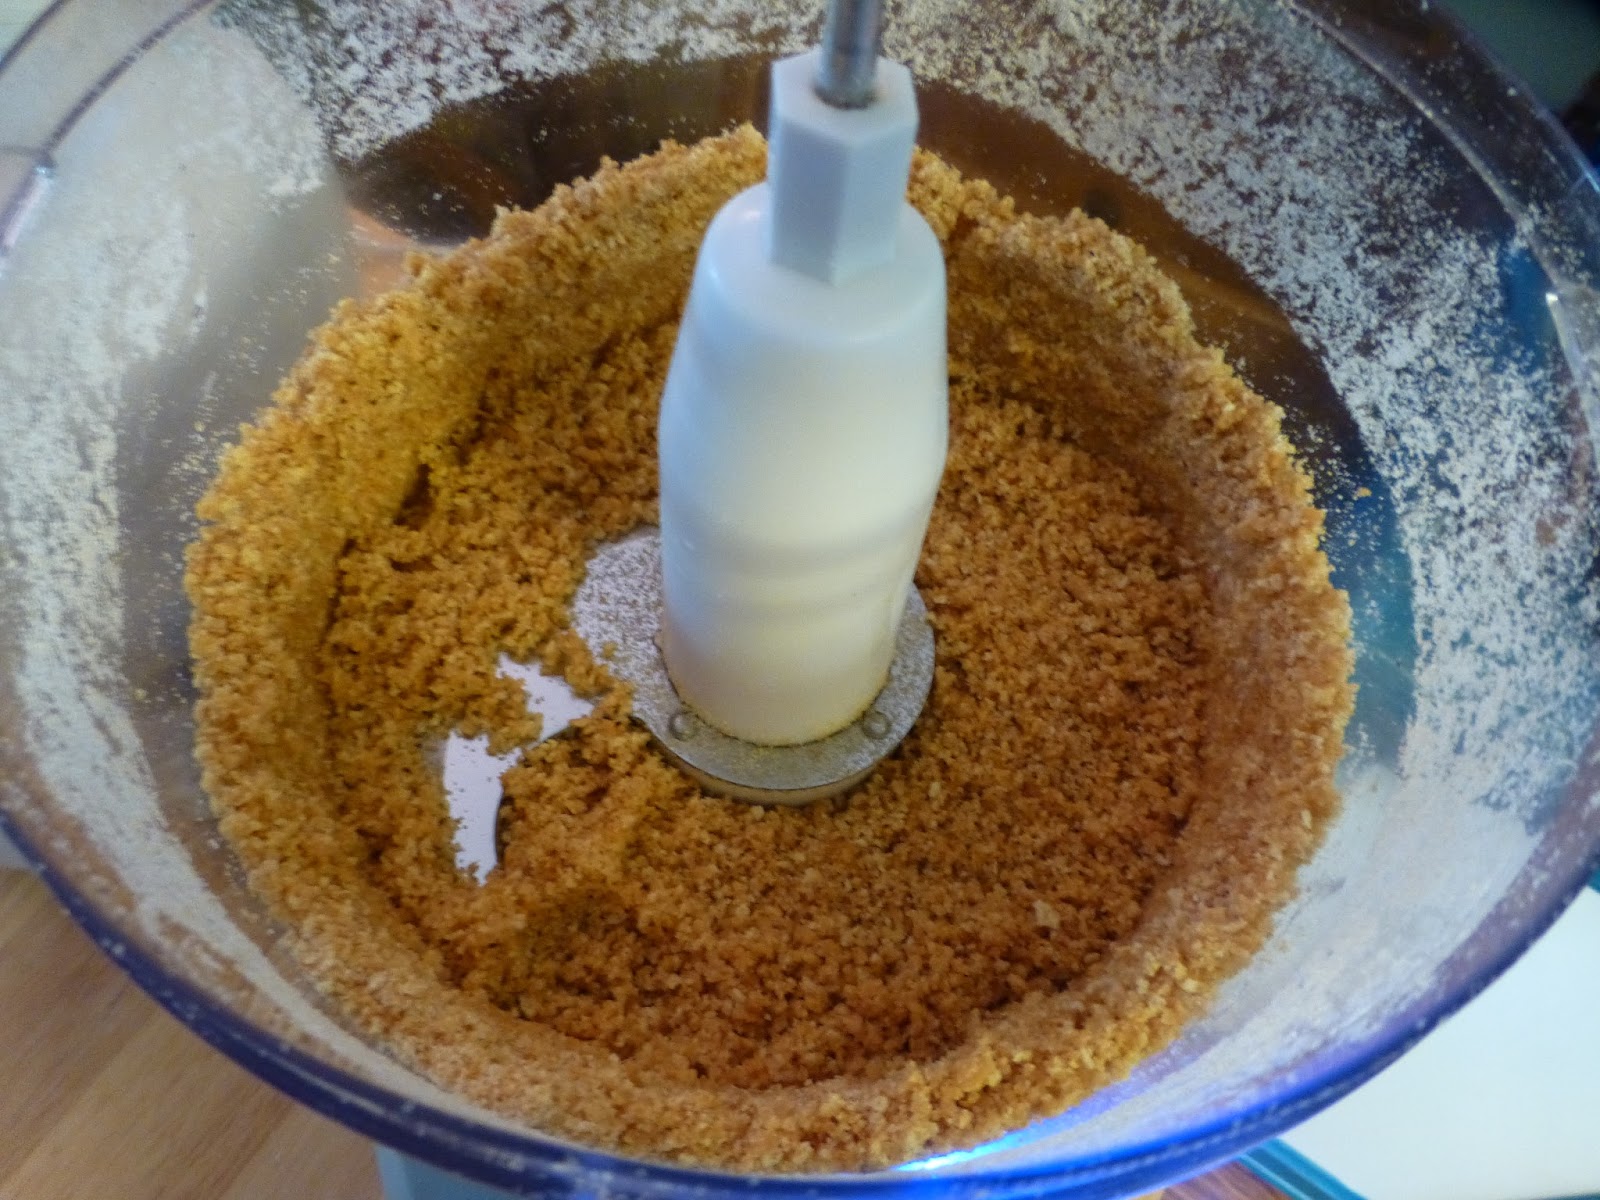
Start by making the pie crust.  In a food processor, combine the graham crackers, salt, and sugar.  Pulse until it is the consistency of fine bread crumbs.  Add the butter, and pulse until a course meal forms, scraping down the sides as necessary.   Transfer to a pie plate or tart pan and press evenly down into the bottom and sides of the dish.  As a note, the filling will not completely fill a pie plate to the top, so you don't need the crust to come all the way up to the top of the sides.  


Refrigerate for 15 minutes, and then preheat the oven to 375°F.  Bake the crust for  15 minutes, until it starts to turn a darker golden brown.  Remove from oven, let it cool, and the place in the freezer until you are ready to pour in the ice cream filling.  

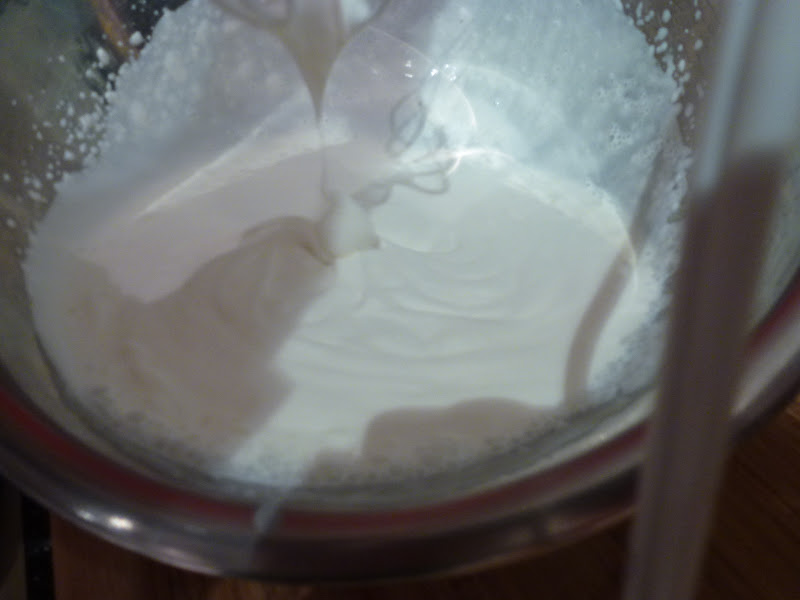
To make the lime ice cream, combine the condensed milk and heavy cream in a medium mixing bowl. Stir to combine and then add the lime juice and lime zest.  Stir slowly.  The mixture will almost immediately thicken.  


Add the salt, stir, and then pour into the frozen crust.  Smooth out the top, cover with plastic wrap, and place in the freezer for 2-3 hours before serving.  

When you are ready to serve, let the pie sit out for about 5 minutes to soften before slicing.  Garnish with additional lime zest.  Enjoy!


Monday, October 29, 2012

Pumpkin Bourbon Cider Milkshake

This delicious fall combination of flavors is a perfect dessert to welcome in the cooler weather.  I love all things pumpkin, and this is a new way to enjoy it.  The fresh maple whipped cream adds the perfect touch and it's so easy to make.  You can leave out the bourbon in this recipe for an equally tasty non-alcoholic treat. Thank you Serious Eats for this recipe!
Ingredients: (makes two decent-sized milkshakes)
1 cup unfiltered apple cider
1/4 cup bourbon
3/4 teaspoon ground cinnamon
1/2 teaspoon ground ginger
1 tablespoon maple syrup
1/3 cup pumpkin puree 
4 cups vanilla ice cream
 
For the whipped cream
1 cup cold heavy cream
2 tablespoons maple syrup
Directions:
To start, reduce the apple cider in a small sauce pan over medium-high heat.  Reduce it by a little more than half, stirring occasionally.  I chilled it in an ice bath because I didn't do this step in advance, but it could be done up to several days ahead of time and kept in the fridge.  This makes the cider flavor stronger without having to water down the milkshake.  

To make the whipped cream, chill a bowl in the freezer for 10 minutes.  Pour the cream into the bowl and beat with an electronic mixer or whisk until soft peaks form.  Add the maple syrup and continue to whisk until you have firm peaks.   
For the milkshake, combine the condensed cider, bourbon, ice cream, cinnamon, ginger, syrup, and pumpkin in a blender.  

Blend until smooth, and serve with the maple whipped cream and a dash of cinnamon.  Enjoy this fall treat!


Thursday, October 18, 2012

Coconut Mango Rice Pudding

Sean recently picked up the last few mangoes of the summer season which had been ripening and waiting to be eaten.  Inspired by Katie's rice pudding recipe from USA Rice Federation, I decided to make up a rice pudding recipe of my own.  I love coconut milk, and it paired perfectly with the fresh mango and ginger.  With a little brown sugar, cinnamon, and cream, combined it was the perfect light comfort dessert. 
Ingredients:
  • 2 fresh mangoes, peeled and cut into half-inch cubes
  • 1 1/2 cups coconut milk (I used full fat)
  • 1/2 cup half and half or heavy cream
  • 1/3 cup brown sugar, plus a few tablespoons extra to sprinkle on top
  • 1/4 teaspoon ground cinnamon
  • 1 tablespoon finely minced fresh ginger
  • 1/4 teaspoon salt, or more to taste
  • 3 cups cooked white rice (about one cup of dry rice cooked)
 
Directions:
In a medium sauce pan, bring the coconut milk, half and half, and cinnamon just to a boil, over medium heat.   
Add 1/3 cup brown sugar and whisk until melted.  Turn the  heat down to medium low.  Add the ginger.  Stir the mixture frequently for about 10 minutes or until thickened.  
Remove from heat.  Mix in the rice, mango, and salt, and taste for more seasoning. 


Preheat your oven to a broil, and spray 6-8 ramekins (or a 10 inch square pan) with non-stick cooking spray.   Spoon even amounts of pudding into each ramekin and then sprinkle rest of the brown sugar on top of each cup.  
Place in the oven until the sugar starts to bubble on top.  Remove from the oven, and serve warm.  This dessert is rich but still feels light and creamy from the coconut milk flavor, and the mango adds some bright acidity to the dish.  It definitely reminds you of the flavors of summer!

Thursday, August 9, 2012

Chocolate Crack

I first saw this recipe on Serious Eats, and of course I had to make it.  It is so easy and tastes amazing; you really can't pass it up if you are a chocolate and caramel lover.  Our friend Katie came over this week and she brought all the ingredients to make this yummy dessert.  I was elated! It reminded me what a great recipe this is and that I should definitely make it more often.  It's just as easy to make a large batch as a small one, so this is a great idea for parties too.  
Ingredients:
1 1/4 cups butter (2 and a half sticks)
1 1/4 cups brown sugar
1 teaspoon vanilla
12 oz dark or semi-sweet chocolate pieces (We used semi-sweet and peanut butter chips, but the peanut butter flavor didn't really come through.  So I would just stick with chocolate)
Saltine Crackers (about 50 or one and a half stacks, for a large sheet pan)

Directions:

Preheat oven to 350 degrees F.  Cover a large sheet pan (about 12x17) with foil, and spray with non-stick cooking spray.  Place the Saltines in a single layer to cover the entire pan.

In a sauce pan, melt the butter over medium heat, stirring often.  Mix in the sugar and then stir in the vanilla.  Whisk or stir until it becomes an even dark brown color and you can tell all the butter has been incorporated.  (About 5 minutes)  When it starts to bubble, remove from heat.
Pour the caramel mixture over the crackers, somewhat evenly.  Spread it out with a spoon to make sure all the crackers are covered completely with the sauce.


Next, place the tray in the oven for 7 minutes until the caramel is bubbling around the crackers.  Remove from the oven and let it cool for a couple minutes before spreading on the chocolate.  Evenly place the chocolate pieces over the crackers and let them sit for 10 minutes so they melt enough to be spreadable.  


With a spoon, spread the chocolate evenly and then let it cool.  When the tray has cooled down, place in the refrigerator or freezer until it has hardened.  Once hard, break pieces of the bark off and peel the foil away.  Break them into smaller serving size pieces of any shape.  It's impossible not to become addicted to this stuff!  


Yummmmm!!!

Sunday, July 1, 2012

Chocolate Chunk Cookies

There's nothing unique or special about these cookies- they are pretty basic but of course super delicious.  The reason I'm posting them is because I want to have a collection of all recipes I love and know I will make again so I can easily reference them without searching through cookbooks or websites.  So, until I come across a better recipe this will be my go-to for chocolate chip cookies.  We used semi-sweet chocolate chunks instead of chips, and the cookies are soft and chewy rather than crispy.   This is a simple desert, but when you are craving chocolate chip cookies, it hits the spot every time!
Ingredients:
1 cup butter (two sticks) softened to room temperature
3/4 cup brown sugar
1/2 cup white sugar
1 1/2 teaspoon vanilla
2 eggs
1 1/2 teaspoons baking soda
3/4 teaspoon salt
3 1/2 cups all-purpose flour (we ran out and used half bread flour, and they came out fine)
2 cups semi-sweet chocolate chunks or chocolate chips

Directions:
Pre-heat oven to 350 degrees F.  Cream together the butter and sugar until smooth.

Next, add the eggs and vanilla, and mix until well combined.
Add the baking soda and salt.  Stir to make sure there are no baking soda lumps.  Then, add flour one cup at a time.

Once you have incorporated all of the flour, fold in the chocolate chunks until they are evenly distributed.  Place even-sized spoonfuls onto a greased baking sheet and bake for 9 minutes or until the edges have started to brown.  The middle of the cookie won't look like it's cooked all of the way through, but once they cool they will be fine.  This keeps the cookie chewy and soft. (we let ours go a little too far in the batch shown below on the baking sheet)


Move the cookies to a cooling rack and serve warm with a glass of cold milk.  Store in an air-tight container.  So yummy!