Thursday, January 3, 2013

Buffalo Chicken Dip

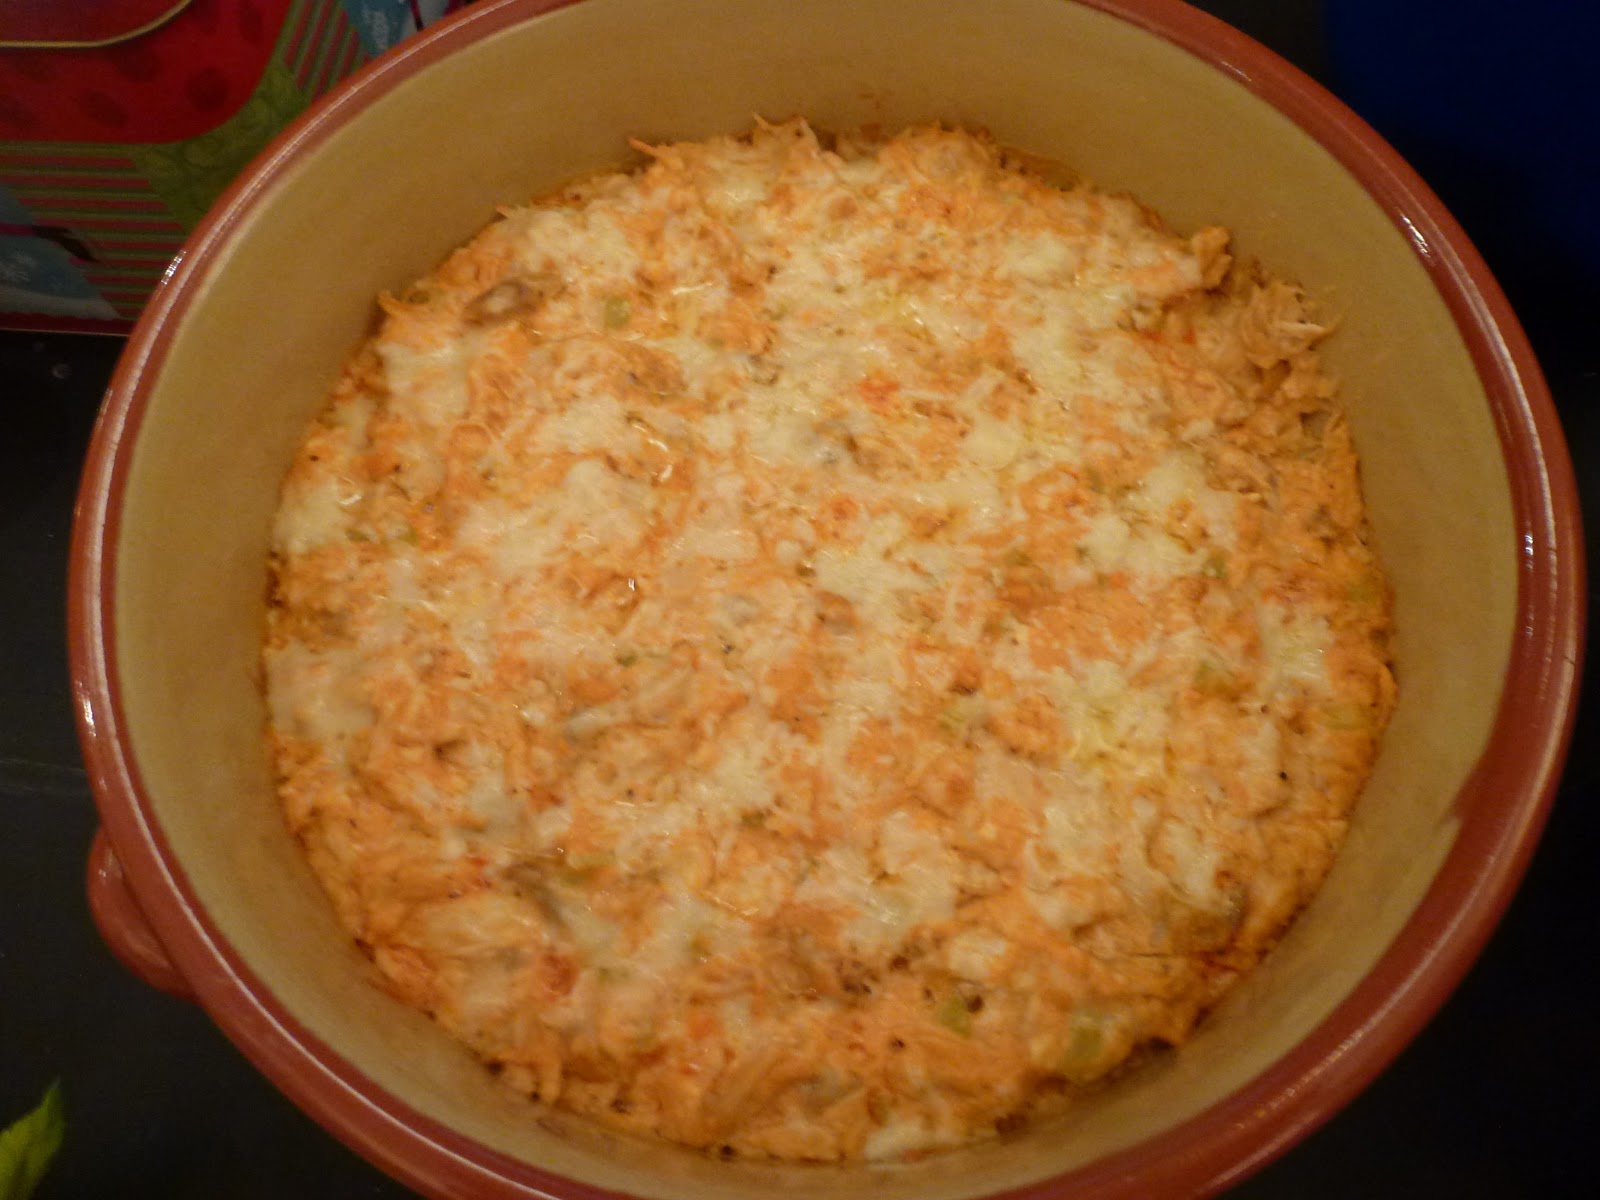
Buffalo chicken dip is a classic crowd-pleaser and we especially like to make it when we have friends over to watch football.  You get the buffalo chicken flavor without the mess of chicken wings.  Mixed with the creamy cheese, I have to say it is far more tasty than eating plain buffalo chicken.  Opting out of the canned and bottled ingredients, we like to use fresh shredded chicken and homemade blue cheese dressing in our recipe.  I also add some diced celery for a little texture and crunch.  This makes enough for about 6, so double the recipe for a big crowd. 
Ingredients:
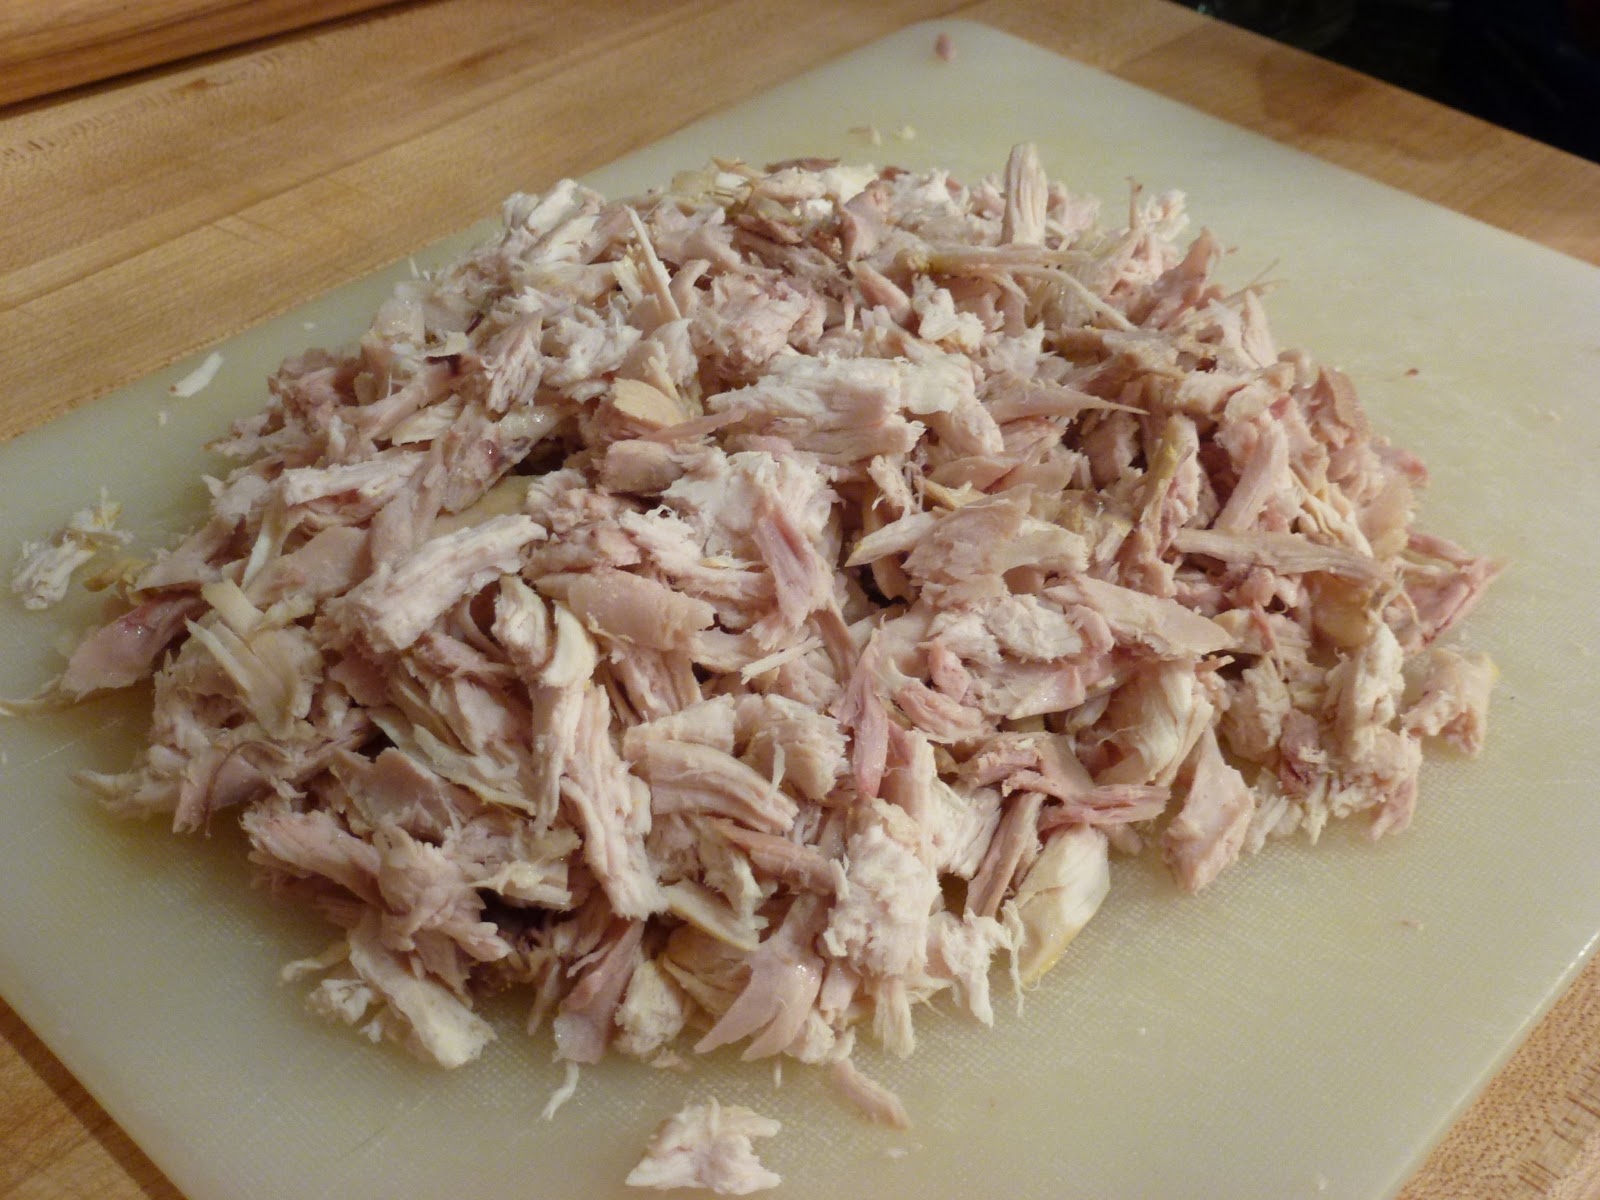
  • 3 1/2 cups shredded chicken (I usually boil the chicken if I don't have any already cooked)
  • 4 oz cream cheese at room temperature
  • 1 cup blue cheese dressing (recommend home-made, recipe below)
  • 1/2 cup hot sauce (recommend Frank's Red Hot)
  • 1 cup shredded cheddar cheese
  • 1 celery rib, finely diced
  • salt and pepper
Directions:
 
To make the blue cheese dressing:
 In a food processor, combine 3/4 cup heavy cream with 3/4 cup crumbled blue cheese or gorgonzola, 1/2 cup mayonaisse, and 2 tablespoons white vinegar.  Blend and season with salt and pepper to taste.  Use 1 cup for this recipe and save the remainder for salad dressing.

To make the dip:
Preheat oven to 350 degrees F.  In a bowl, mix the chicken with the celery, cream cheese, and blue cheese dressing until well blended.  

Add the hot sauce and stir to combine.  Fold in 1/2 cup of the cheddar cheese.  Pour the mixture into a small casserole or other baking dish and sprinkle the remaining cheese on top.  The perfect opportunity to use our new ceramic dish we got this year for Christmas, which also kept the dip nice and warm long after it was out of the oven.


Bake for about 20-30 minutes or until hot and bubbly.  Serve with celery sticks and crackers or chips.  Yum!


Monday, December 31, 2012

2012: Our favorite Dishes

After a full year of posting, I decided it would be nice to capture our favorite dishes from each category that were made in 2012. As for our new year's dinner tonight... we're eating out!

Starters:

Sean's Pick: Bacon-wrapped Dates


Ro's Pick: Lemon-Goat Cheese Balls (though Candied Bacon was a close second)

Soups:

Sean's Pick: Chili
 

Mains: (We decided to do 2 each for this one because there were so many good ones!)

Sean's Picks: 


 Ro's Picks:


Honorable Mentions go to Kimchi Bacon Noodles and  Linguine with Clams.

Sides:
Sean's Pick: Apple Curry Quinoa


 Sweets: 

Sean's Pick: Sesame Cookies


Breakfast:

Sean's Pick: Korean Brunch

Ro's Pick: Bagels


It was a good year!

Sunday, December 30, 2012

Wine Cork Wreath

With years of wine corks saved up we finally got around to doing something with them, and it turned out great! In previous cork projects, we've made coasters and trivets, so we wanted to do something different.  We decided to make a wreath and so we looked around on a couple sites to figure out the best way to approach it.  Using a styrofoam wreath (purchased from Michael's) and some sturdy party toothpicks inserted into the corks seemed to be the best way.  We did secure a couple corks that seemed loose with a glue gun to make sure they wouldn't fall out.  While our fingers felt like they were going to fall off after sticking the toothpicks in over 200 corks, it was worth it in the end.  Now... we just have to figure out how to hang it!  This wreath is seasonal-friendly so we'll try to dress it up with different accessories throughout the year.
Supplies:
Styrofoam wreath (we did a 14 inch wreath, but smaller would be fine too)
Corks - we used approx 225-250 
Toothpicks - sturdy and round with pointed tips
Pliers - optional, to help with inserting toothpicks
Glue Gun- optional, to secure loose toothpicks

Directions:
Begin by inserting toothpicks in the corks.  Insert them into the side you do not want to show on your wreath.  For the corks that came from red wine, we always put the toothpick through the top of the cork so the bottom with the reddish color would show on the wreath.  Try to get at least 1/4 of the toothpick in the cork so it feels secure enough that it won't fall out.  
When you start to put the toothpicks in the wreath, lay the wreath flat and do an inner and outer ring as seen in the picture.  These corks won't be as visible in the final product, so use the less pretty ones first. (Of course the cats had to get involved)

Next, begin to insert the rest of the corks to fill in the wreath.  Don't follow a particular pattern and insert the corks at various angles so all the gaps are covered.  Leave some corks sticking out further than others.  Continue this until the wreath is full of corks.  

Check for any loose feeling corks that might need to be glued down.  Use as a centerpiece like we did with a candle in the middle, or hang from your door with ribbon or string.  I'll update this post once we have ours hanged.


Tuesday, December 18, 2012

Creamed Spinach

If you love creamy cheesy dishes like I do, than this creamed spinach recipe is an amazing way to enjoy cooked spinach.  It's not the healthiest way to eat it, but the small amount of cream goes a long way and is balanced out by the healthy greens. (or so I think).  The addition of cheese adds another flavor element.  I like to use a combination of Jarlsberg and Parmesan but other types would work well too.   
Ingredients:
2 tablespoons butter 
1 tablespoon olive oil
1 onion, diced
1 clove garlic, minced
2 lbs spinach, washed and chopped (seems like a lot but it really wilts down)
1/3 cup heavy cream
1/2 cup shredded Jarlsberg cheese (or Swiss)
1/2 cup shredded Parmesan cheese
1/4 teaspoon nutmeg
salt and freshly ground pepper

Directions:
In a medium to large pot over medium heat, melt the butter and add the oil.  When the butter has melted, add the onion and garlic and cook until translucent, 5-7 minutes.  
Add the spinach, bit by bit, stirring and allowing it to wilt before adding the next handful.
Once the spinach has fully wilted, add 1 teaspoon salt and saute over medium until some of the liquid has reduced.  

 After about 10 minutes, add the cream.  Stir until heated and slighty reduced, 5 minutes.  Add the cheese and stir to melt. 

 
Add the nutmeg and 1/4 teaspoon black pepper to the mixture, and taste for more salt and pepper.   Let the creamed spinach cool slightly before serving.  This will help thicken the mixture.  Enjoy!


Thursday, December 13, 2012

Spiced Ginger Granola

In this batch of granola I switched it up by adding some chopped crystallized ginger along with some other wintery spices to give it a seasonal flavor.  I have to say... it came out pretty delicious.  It's great as a breakfast or healthy dessert.
Ingredients: 
5 cups old fashioned oats
1 cup chopped walnuts
1 cup chopped almonds
1 cup bran
2 tablespoons butter
1/2 cup vegetable oil
2 tablespoons honey or agave nectar
1/4 cup brown sugar
1 teaspoon vanilla
1 teaspoon cinnamon
1/2 teaspoon all spice
1/2 teaspoon nutmeg
1/2 cup chopped crystallized ginger
1 cup dried cranberries

Directions:
Preheat an oven to 300 degrees F. Mix the oats, nuts and wheat germ in a large bowl.  
In a smaller bowl, combine the butter, oil, honey, sugar, vanilla, and spices.  
Microwave for 20 seconds (so that butter is melted) and stir the mixture well.  Pour it over the dry ingredients and mix with your hands or a large spoon until the oats and nuts are evenly coated.   Spread the mixture onto a large sheet pan (or two).  You could also use a casserole dish but it will take longer to bake since it won't be as spread out. 
Bake for about 45 minutes to an hour, stirring every 10-15 minutes to ensure even cooking.  When the granola is a golden-brown color, remove it from the oven and let it cool to room temperature.  
Add the dried ginger and cranberries and store in a sealed container.