Wednesday, September 25, 2013

Fig & Port Jam

With more ripe figs than we knew what to do with this summer, our last big harvest brought in three and a half pounds.  We had already made fig jam once, so I decided to switch it up by using port instead of water.  And, having such a large amount of figs made it worthwhile to can the jam in order to preserve it and be able to enjoy our figs all 
winter.  Note that this jam is thick, but not a jelly-like consistency since no pectin is used in the recipe.  If you wanted your jam to be more on the solid side, you can always add some. 
Ingredients:
  • 3-3 1/2 lbs fresh green or purple figs
  • 1 1/2 cups sugar
  • 3/4 cup port
  • 1/4 cup lemon juice
  • 1/4 teaspoon salt
  • 1 cinnamon stick 
Directions:

Slice each fig into four wedges, and then each wedge into either two or four pieces, depending on the size.  You want to end up with a uniform dice of relatively small pieces.  

In a bowl, combine the figs and sugar.  Mix and let sit for 15 minutes until the sugar has dissolved and the figs start to look syrupy.  
In a large pot over medium heat, combine the figs, port, lemon juice, salt, and cinnamon stick.  Bring to a simmer and cover.  Turn heat to low and cook for 15-20 minutes, stirring occasionally.

Remove lid and turn heat back up to medium low, or until it is simmering rapidly.  Let the mixture reduce, about another 15-20 minutes.  Stir frequently to avoid sticking or burning to the bottom of the pot.  
If you are planning to can the jam, now is the time to heat a large pot of boiling water and sterilize the jars for about 10 minutes.  

When the jam is at your desired consistency, remove the cinnamon stick and spoon it into the jars, leaving about 1/4-1/2 inch of room at the top.  
If you are not canning- let the jars sit at room temp and then refrigerate.  If you are canning, be sure not to screw on the lids too tight, and then boil the full jars for another 10 minutes.  Remove, and let them cool.  No need to refrigerate.  Enjoy the jam with toast, pancakes, biscuits, and more! 

Sunday, September 15, 2013

Shrimp Puttanesca

This is a savory pasta dish that packs a lot of flavor between the shrimp, capers, and olives.   It's also relatively simple and doesn't require a lot of unique ingredients.  I found the recipe on Food & Wine and don't think I made any changes (except to leave the tomatoes unpeeled.)  They didn't call it a puttanesca, but considering the ingredients I decided to use that title.  Some puttanescas have anchovies in them, but this one does not.   Overall this is a good option for a quick and tasty week night meal.  And it gave me the chance to use a little fresh rosemary from the 1-herb strong garden, so that's always a plus.  We also tested our our new garlic-grating tool we got at the farmer's market in San Diego.  It's a little ceramic plate with sharp ridges that works miracles in grating garlic or ginger. 
Ingredients:

  • 3 tablespoons olive oil
  • 2 pounds medium shrimp, shelled
  • 4 cloves garlic, minced or grated
  • several dashes of dried red-pepper flakes (or more to taste)
  • 1/2 teaspoon salt
  • 1/4 teaspoon fresh-ground black pepper
  • 2-3 medium tomatoes (about 3/4 pound) chopped
  • 1 cup canned crushed tomatoes in thick puree
  • 1 teaspoon chopped fresh rosemary, or 1/4 teaspoon dried rosemary
  • 2 tablespoons drained capers
  • 1/3 cup halved and pitted black olives 
  • fresh lemon, to squeeze on top (optional)
Directions:
 
Heat a large skillet or frying pan to medium and add the oil.  When it is hot, add the shrimp to the pan along with the salt, pepper, red pepper flakes, and garlic.  Stir and try to spread the shrimp out evenly.  Stir occasionally until cooked through, about 4-5 minutes. Remove the shrimp with a slotted spoon.

Next, add the tomatoes, rosemary, capers, and olives to the pan.   Reduce heat and simmer, covered for 15 minutes.   Meanwhile, start boiling your pasta water.  Any type of pasta will do.


After the sauce has simmered, return the shrimp to the pan and cook until heated through, about 1 minute.  


Serve over pasta and garnish with additional rosemary and a squeeze of lemon.  


Sunday, September 1, 2013

Lime Ice Cream Pie

This is a perfect summer dessert- cold and refreshing with just the right amount of sweetness.  It's also incredibly easy to make- no ice cream maker or special kitchen utensils required, other than a food processor for the crust.  The tart and creamy filling pairs wonderfully with the homemade graham-cracker crust which is buttery and sweet.  It's also nice that this keeps in the freezer for several days (or even a couple weeks) so you don't have to eat it all in one sitting.  Or you could make two and save one for later.  Either way, this is sure to be a success for you and your guests!  Thank you to Serious Eats for the recipe, which was unaltered.  Note that there is a good amount of wait time in this recipe so get an early start on it if you plan to consume it in the same day. 
This also gave me a chance to use my DIY cake stand!

Ingredients:

Crust:
  • 10 plain graham crackers
  • 1/2 teaspoon kosher salt
  • 3 tablespoons white sugar
  • 5 tablespoons butter, melted and slightly cooled
Filling:
  • 1/2 cup lime juice (3-4 limes)
  • 1 tablespoon lime zest, plus more for garnish, from about 1-2 limes
  •  3/4 cup sweetened condensed milk
  • 1 cup heavy cream
  • 1/4 teaspoon salt

Directions:

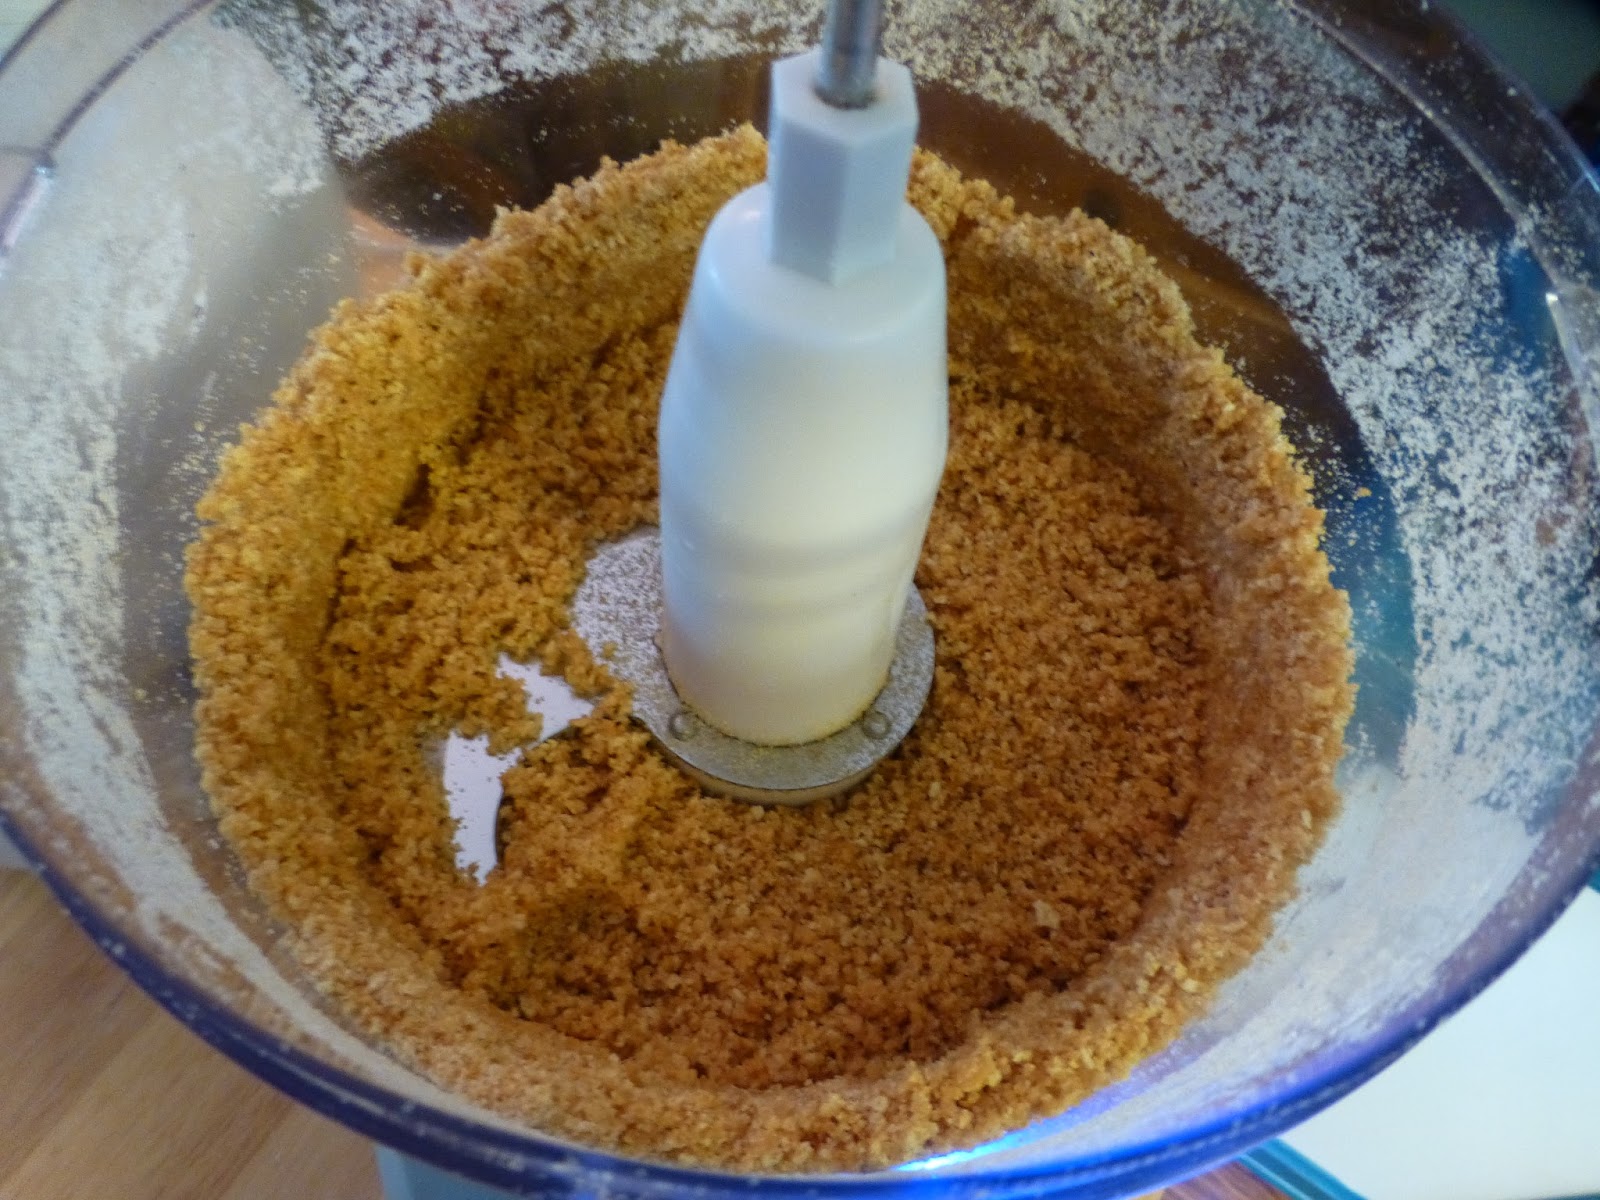
Start by making the pie crust.  In a food processor, combine the graham crackers, salt, and sugar.  Pulse until it is the consistency of fine bread crumbs.  Add the butter, and pulse until a course meal forms, scraping down the sides as necessary.   Transfer to a pie plate or tart pan and press evenly down into the bottom and sides of the dish.  As a note, the filling will not completely fill a pie plate to the top, so you don't need the crust to come all the way up to the top of the sides.  


Refrigerate for 15 minutes, and then preheat the oven to 375°F.  Bake the crust for  15 minutes, until it starts to turn a darker golden brown.  Remove from oven, let it cool, and the place in the freezer until you are ready to pour in the ice cream filling.  

To make the lime ice cream, combine the condensed milk and heavy cream in a medium mixing bowl. Stir to combine and then add the lime juice and lime zest.  Stir slowly.  The mixture will almost immediately thicken.  


Add the salt, stir, and then pour into the frozen crust.  Smooth out the top, cover with plastic wrap, and place in the freezer for 2-3 hours before serving.  

When you are ready to serve, let the pie sit out for about 5 minutes to soften before slicing.  Garnish with additional lime zest.  Enjoy!