Showing posts with label bread. Show all posts

Thursday, June 7, 2012

Banana Bread


Banana bread is simple but delicious- and obviously one of the best ways to use up ripe bananas.  I'm one of those people who prefers to eat bananas when they are just barely ripe and aren't as sweet.  So as soon as I see a couple brown spots I know they are past their prime (in my eyes) and I just save them for banana bread.  There are a few basic steps involved but the recipe is overall pretty simple.  The bread comes out extra moist because of the sour cream that gets mixed into the batter.  This recipe makes two loaves so you can share one with friends or family!

Ingredients:
1 cup butter, softened
1 1/2 cups sugar
4 eggs
2 teaspoons vanilla
2 teaspoons baking powder
2 teaspoons baking soda
1 teaspoon salt
3 cups flour
1 cup sour cream (could substitute plain Greek yogurt)
3-4 ripe bananas (about 2 cups mashed)
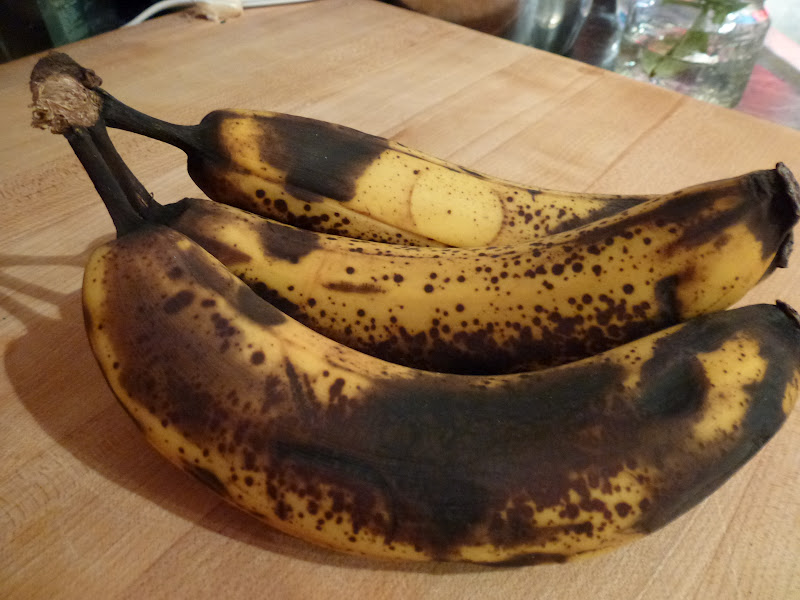
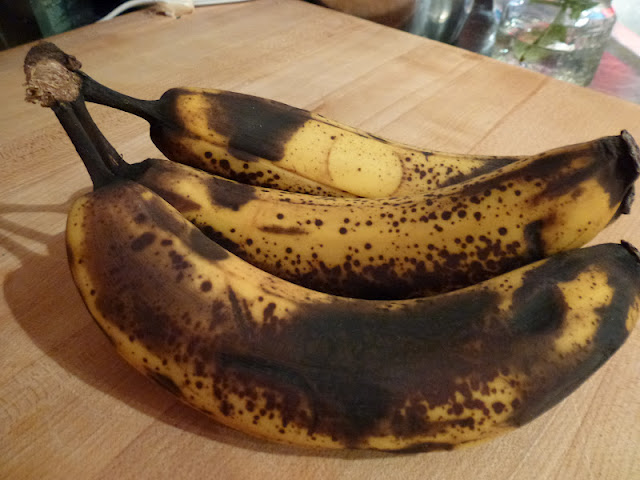
You know your bananas are ready when they look like this!
Mash them up and they look like this-
Directions:
Preheat oven to 350 degrees F.  Prepare two greased loaf pans (8x4 or 9x5).  Cream together the butter and sugar until light and fluffy. 


Add the eggs and vanilla and mix well.  (I did this all by hand).  Next, add the salt, baking soda and baking powder and stir to combine. 


Finally, add the flour.  Mix until the flour has been completely incorporated into the batter.  Fold in the sour cream and mashed bananas and mix until combined.  


Pour half of the batter into each loaf pan and bake for about 50 minutes or until a knife inserted in the middle comes out clean. 

Let it cool for at least 30 minutes before slicing. Store in an airtight container or plastic bag at room temperature. 

Saturday, May 19, 2012

Brazilian Cheese Bread (Pão de Queijo)

If you've ever eaten at a Brazilian steakhouse, you probably remember the little tasty cheese puff rolls they serve right after being seated.  Despite the fact that you are preparing for an all-you-can-eat meal of freshly sliced steak at your table and an awesome salad bar to accompany it, these rolls are so addictive that it's impossible not to eat a few.  They are light and airy, but at the same time have a chewy center with a texture that is unique to any other bread I've had.  This comes from the use of tapioca flour, which has a texture similar to corn starch.  The puffs are also cheesy and savory- and you can alter the flavor by using different types of cheeses.  Best of all, this recipe is so easy it doesn't even feel like "baking".  You just whiz up the ingredients in a food processor, pour into the muffin pan, and in 15 minutes they are done!  These are a great start to any meal and an easy way to impress your guests with something new.  They are also gluten-free.

Ingredients:
1 egg (best at room temp- (either let it sit out, or place it in a bowl of lukewarm water)
1/3 cup olive oil
2/3 cup milk
1 1/2 cups tapioca flour (the same as tapioca starch- which we found in the Hispanic section of our grocery store)
3/4 cup shredded cheese (any cheese will work- start with something more neutral for your first time.  We've made them with Parmesan, cheddar, farmer's cheese, blue cheese, and different blends- it all works!)
1 teaspoon salt

Warming up the egg!
Blue, Parmesan, and Cheddar
Directions:
Preheat oven to 400 degrees F. Prepare a greased mini-muffin pan.  (We've never tried them with a regular sized muffin pan, but it might work.)  Combine all ingredients in a blender or food processor and blend until smooth.   

Pour the batter into each muffin cup until it is just below full and continue.  There should be exactly enough for all 24 mini-muffin cups.  

Bake for 15-20 minutes or until the tops are puffed and slightly golden.  Let cool slightly before removing from oven and serve either hot or warm. 


Chewy Cheesy Center
Enjoy!
 

Thursday, January 19, 2012

Black Caraway Bread

This bread combines so many different ingredients that seem strange but go together perfectly to make a delicious savory bread.  The closest thing I can compare it to would be pumpernickel bread, but the flavor of this black bread is really far more complex and has a slight hint of sweetness.  I've been cutting slabs of bread from this giant loaf to eat with butter every day now and I'm still not tired of it.  It also went great along side of our Italian sausage-white bean soup.   This recipe came from 101 Cookbooks and I didn't change a thing.  It is time consuming, (as all homemade breads tend to be) but totally worth the effort for a unique and delicious loaf.

Ingredients:
2 1/4 teaspoons active dry yeast
1 1/3 cups warm water
1 teaspoon natural cane sugar / brown sugar
2 tablespoons cocoa powder
2 tablespoons finely ground espresso beans
1/4 cup molasses
3 teaspoons caraway seeds, plus more for topping
3 tablespoons unsalted butter, cut into pieces
2 teaspoons fine grain sea salt
~2 cups coarsely grated carrot (2 large)
1 1/3 cup / 150 g rye flour
~3 1/4 cup / 15 oz / 425 g bread flour (or unbleached all -purpose flour), plus more for dusting
olive oil for kneading and oiling baking sheet
2 tablespoons buttermilk, water, or milk

Directions:
Dissolve the yeast into the warm water with the sugar.  Whisk to combine, and let it sit until it gets frothy, or about 10 minutes.  If the mixture never gets frothy then you know the yeast is not good.  Meanwhile, over medium-low heat, in a saucepan combine the molasses, cocoa powder, ground espresso, butter, caraway seeds, and salt.  Cook until just melted, stirring constantly.  Remove from heat and pour it into a large mixing bowl.  Let it come down to a lukewarm temperature before adding the rest of the ingredients.
To the bowl, add the yeast mixture and the shredded carrots.

Add the rye flour and stir to combine.  Then, add the bread flour, about a cup at a time until the mixture comes together into a thick sticky dough.  I ended up using all of the flour but you may not need to.  

Turn the dough out onto a floured surface and begin to knead.  Sprinkle more flour on the dough as needed if it becomes too sticky to work with.  It will be pretty stiff at first.  Knead for about 5 minutes until the dough is soft and springy.  Form it into a ball and rub with olive oil before placing into a bowl to rise.  Cover the ball and let it rise in a warm place for 1-2 hours. (We only did one).

After the first rise, take the dough back to your floured surface and deflate it gently by pressing down with a closed fist.  Knead it ever so slightly, to form it back into a nice round shape before letting it rise a second time.  This time, place it on a lightly oiled baking sheet.  Cover with plastic wrap or a loose cloth and let it rise for one more hour.  I accidentally cut the cross into the top of my bread before this step as you will see in the photos, but you should really wait until after the dough rises to do that step.

Preheat the oven to 425 degrees F so that it will be ready when your dough is done rising.  By that time, the dough should have doubled in size.  Carefully cut slits across the top of the bread in the shape of a cross.  Brush the milk or buttermilk over the top of the bread and sprinkle 1 t caraway seeds all over.  Bake at 425 for 20 minutes, and then decrease the oven to 350 degrees F, leaving the bread in the oven for an additional 20-25 minutes.  You should be able to tell it has a hard toasted crust and it will sound a bit hollow when you knock on it.  Let it cool for 15 minutes before slicing into it.  (I could barely wait that long!)