I
've always loved fresh bagels, and bagels in general were a staple for me growing up. I would eat bagel sandwiches, toasted bagels with American cheese, bagels with peanut butter, with honey-butter, with cream cheese, breakfast bagel sandwiches... the list goes on and on. I still remember watching a cooking show when I was in high school on PBS (we had about 8 channels) and the chef made bagels from scratch. I decided at that moment that I would try and make my own bagels. It did seem a bit complicated though... About 10 years later I finally accomplished that goal, after being inspired by a recipe on Serious Eats that made it look so easy. I've made them twice now, and while it takes effort, it is definitely worth the result. Bagels fresh from the oven, with any topping you want. This is a great way to impress your guests for brunch, or to enjoy all by yourself! We had these with some cream cheese, smoked salmon, capers, green onion, and sliced shallot. After a day, they are best toasted.
Ingredients: (Makes 8 medium sized bagels)
530g bread flour (3 1/2 cups)
7 g instant dry yeast (2 1/2 t; or 1 envelope active dry)
43g sugar (2 T)
16g salt (1 t)
340g hot water (1 1/2 cups, 120°–130°F)
2 T molasses or malt syrup (for the boiling water)
1 egg beaten with 1 t water (optional, for toppings)
Toppings (such as sesame seeds, poppy seeds, dried onion or garlic flakes, cinnamon & sugar, or whatever else you would like)
*NOTE* if you want to make them ahead of time and cook the following day, there is an alternative method, using ice cold water instead of hot water. Instructions for both methods included.
Directions:
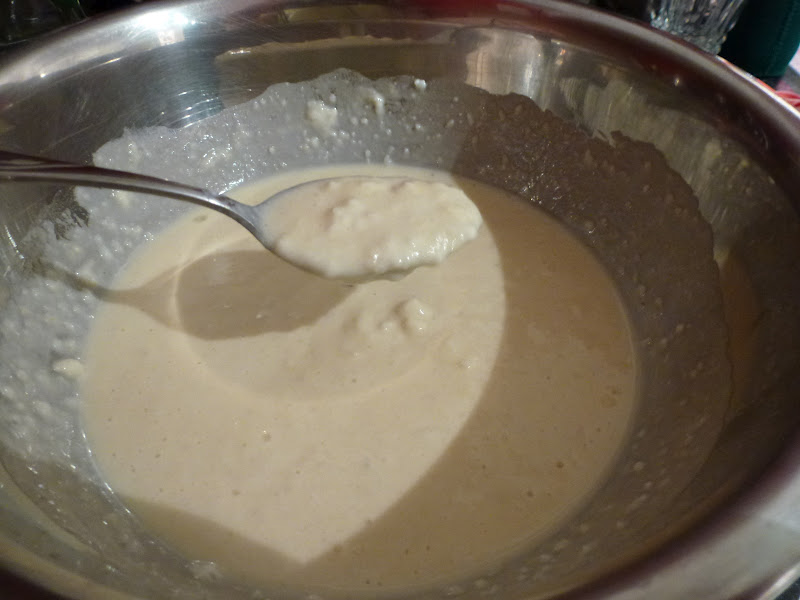
Add all the dry ingredients to a bowl and stir until combined. Slowly add the
water, while stirring. Once all the water has been added and all of the flour is incorporated, begin to knead the dough for 5-7 minutes, until soft and elastic. I had to add a few more teaspoons of flour as I was kneading when it got too sticky. Alternatively, you could do this in a food processor. I did it by hand and it worked out fine.
Transfer dough to a large, lightly oiled bowl and cover tightly with plastic wrap. Let rise until doubled in bulk, about 1 hour. For the make-ahead version, you skip this step and form the bagels immediately. Divide the dough into 8 equal portions. Between your hands, roll each piece of dough into a thick rope, long enough to wrap into a circle with a hole in the middle of about 1 inch diameter. Connect the two ends of the rope and pinch the dough together so that it sticks into a circle.
Place the bagels on a baking sheet lined with wax paper. Cover with plastic wrap. If you did these the night before, place the tray into the fridge until the next day. If not, leave them out on the counter until your water comes to a boil.
If you formed the bagels the night before, take them out of the fridge to come to room temperature for one and a half hours before you cook them. They should rise slightly during this time.
Prepare the boiling water: Add the malt syrup or molasses to 6 quarts of water over high heat
and let it come to a boil as the bagels rise for an additional 10 minutes. Preheat the oven to 400°F.
Place the bagels into the boiling water, 2 at a time. Let them boil for 1 minute, and flip them to boil with the other side up for 30 seconds more. Remove them from the water with a skimmer and set them on a dry kitchen towel while you continue with the next batch.
After all the bagels have boiled, place them back on the wax paper covered baking sheet and brush with the egg wash. Sprinkle your toppings over the bagels generously. We used sesame and poppy seeds this time.
Place the bagels on a sil-pat covered baking sheet. (If you don't have a sil-pat, just use a regular baking sheet)
Bake until golden and shiny, about 20-25 minutes. If you are using a sil-pat, the bagels will be evenly browned on both the top and the bottom. If not, you may want to flip the bagels at the 20 minute mark and cook with the opposite side up for an additional 10 minutes.
Let the bagels cool for at least 15 minutes before eating. Serve with your favorite cream cheese or other goodies such as smoked salmon as seen below. If you are missing a local bagel shop like our neighborhood is, you should really give these a try!